I purchased the DNA washable air filter a couple of months ago, and seeing as I've done a lot of dirt riding I thought I would put it in.
It's a bit more work than other bikes I have. I would reckon an hour to do it, or if you faff like me, add another half hour.
You will need:
5mm allen key
12mm socket
7mm socket ( Triumph??!!)
Phillips medium screwdriver.
Take off the seats and side panels...
Next remove the plastics on the tank and radiator. You do not have to remove the plastic on the tank that 'cuddles' the ignition key.
You might be able to get away without removing the lower radiator plastics, but it's only two screws and you won't snap the top plastic.

Once all the plastics are off you can remove the two tank retaining bolts...

Now you can pull the tank backwards and up at the same time, might need a little tug as the tank is sitting on rubber bushings that stick. You cannot remove the tank right now, just get it loose.
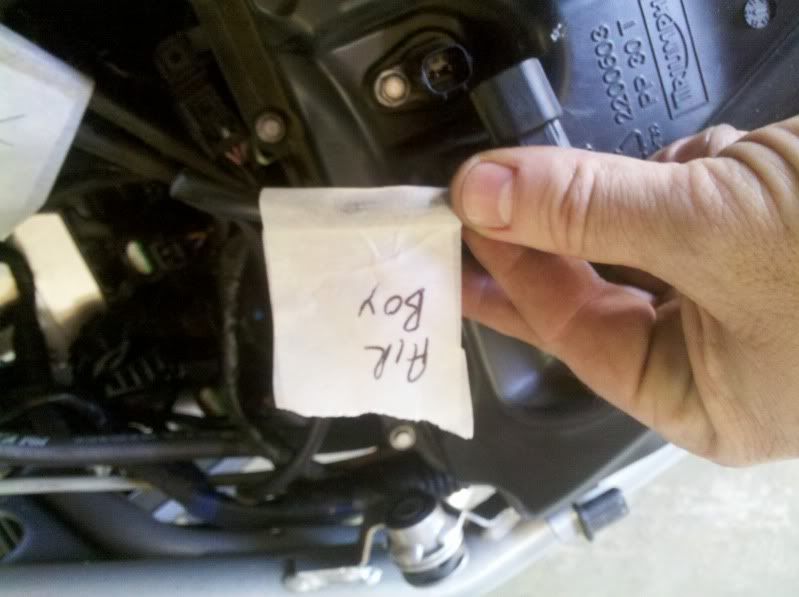
At the rear of the tank are two pipes, one is a breather the other is an overflow. They are different sizes, but marking them is never a bad idea....
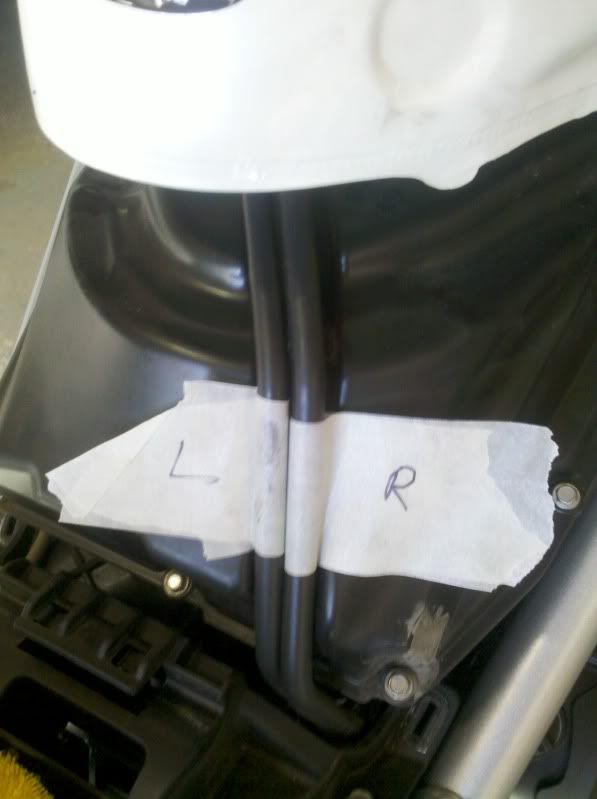
Lift the tank up a bit so you can get your hands underneath. Pull off the two pipes.
Here I've used a rolled up towel, we need to get at the electrical connectors and the fuel pipe.

Black connector plugs in on the left, brown on the right. They are easy connectors, simply squeeze the tab and pull.
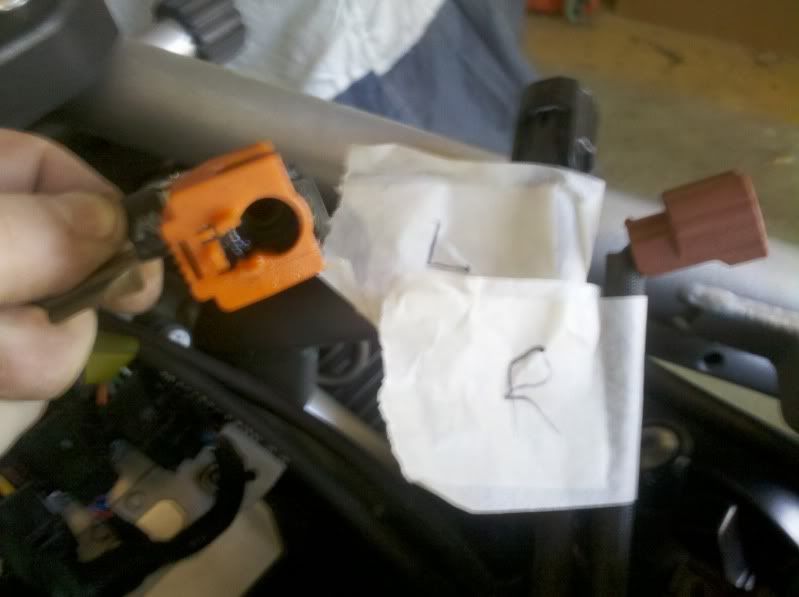
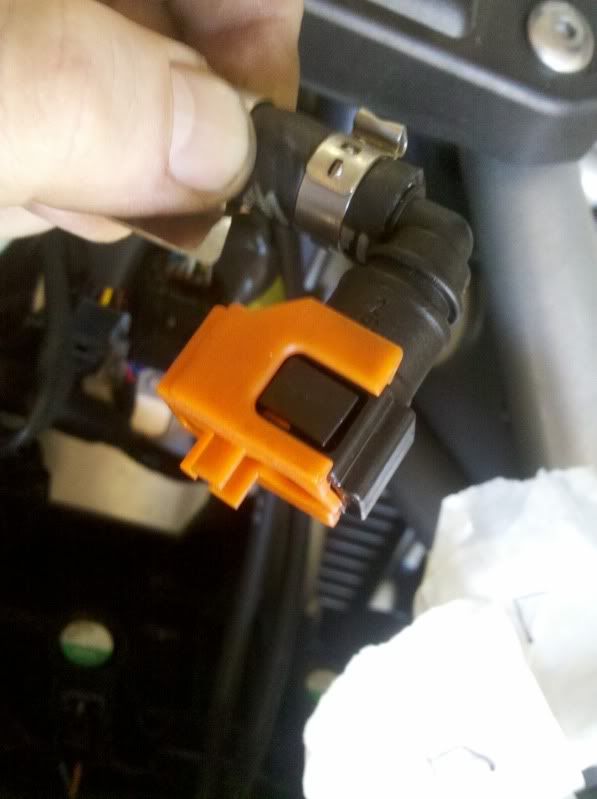
The fuel pipe connector is a little tricky if you've not come across them before. It has a slide locking plate (orange part) : Slide this at 90 degrees to the pipe, from the black side until it clicks. (ie slide left in the pic below)
Now at the top and bottom are two tabs that need to be pressed inwards. Whilst pressing them in, push the connector ON to the pipe, then pull it off.
*If it doesn't come loose do not force it. Press the tabs again, push it on, then pull, you can try a twist to help the release.
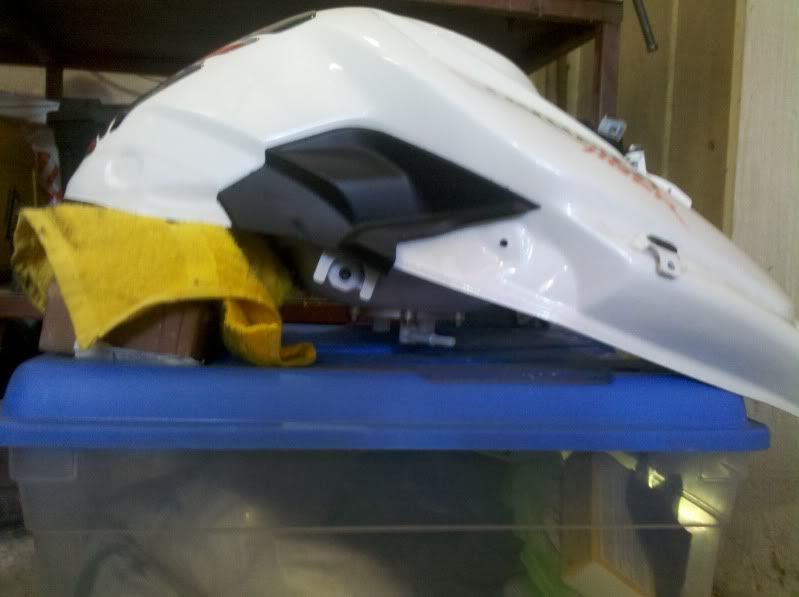
Before you take the tank off, get a spot ready to put the tank. DO NOT put the tank down on a flat surface. The plastic fuel connector pipe sits low and will snap!!
The tank is now ready to come off. Continue pulling backwards and upwards.
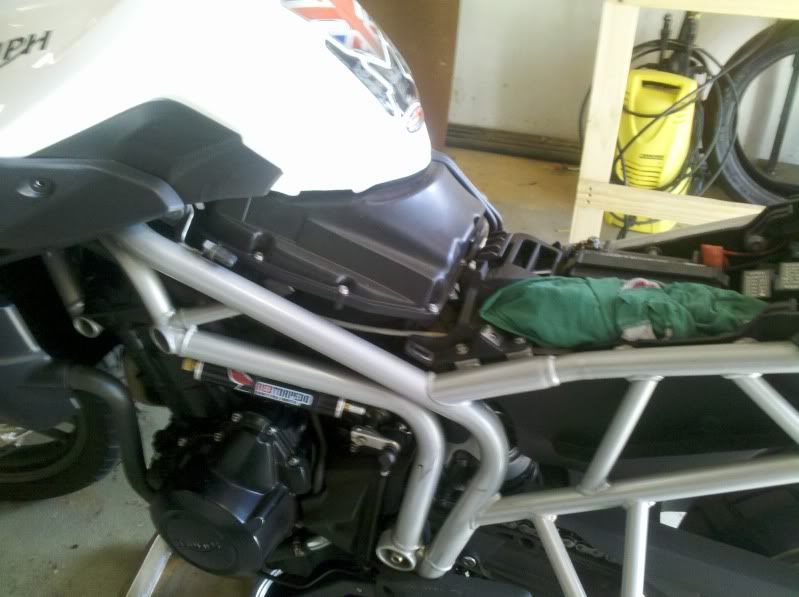
Here's a pic of the supported tank..
Now you can see the airbox complete. There is one electrical connector, press the tab and pull.
Remove the airbox cover, don't drop any of the screws..

Near the intakes are two phillips head screws, that's all. The cover itself presses the air filter secure.
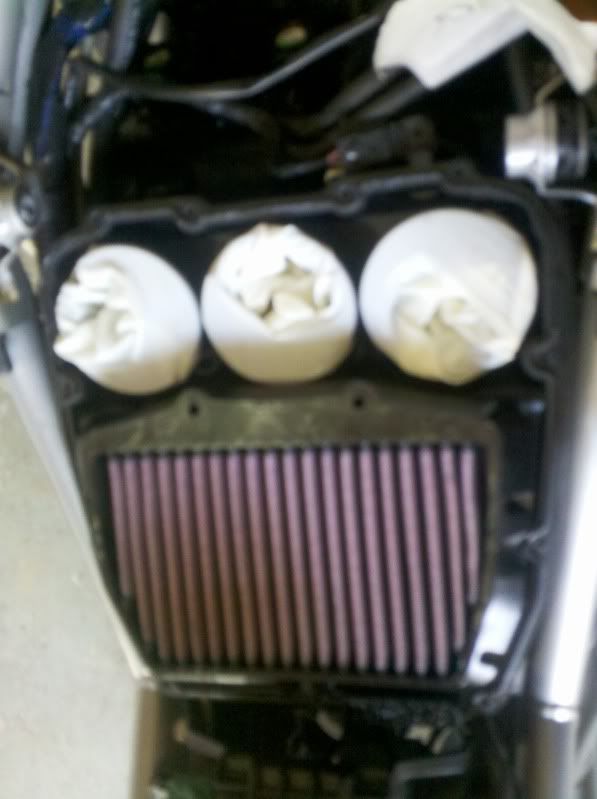
Now you can faff a little, grab a torch, open the throttle and have a look at your intake valves. Mine look all clean and shiny!!! Pretty!
Cover up the intakes so nothing can drop in them or get dirty.
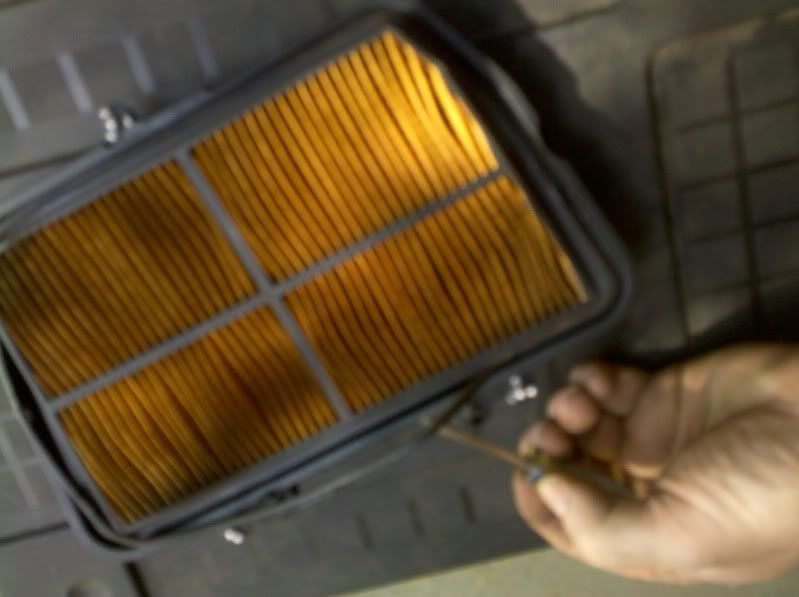
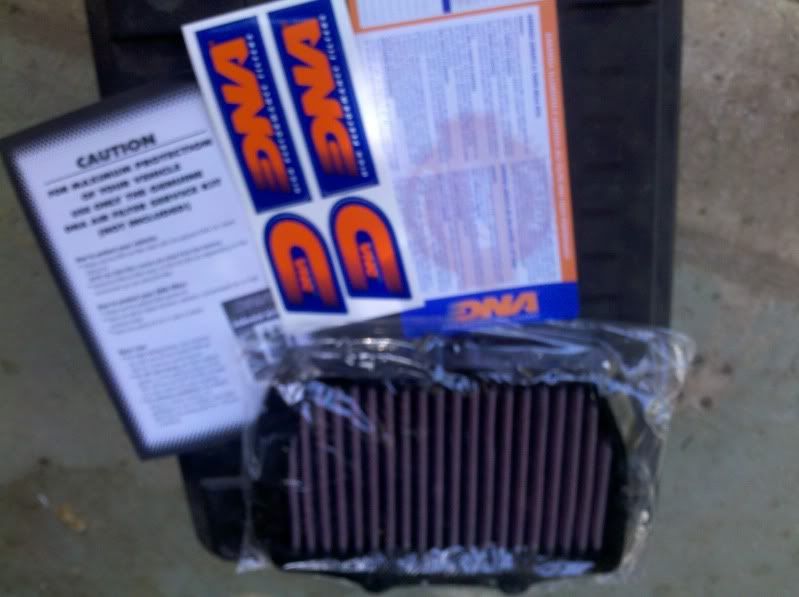
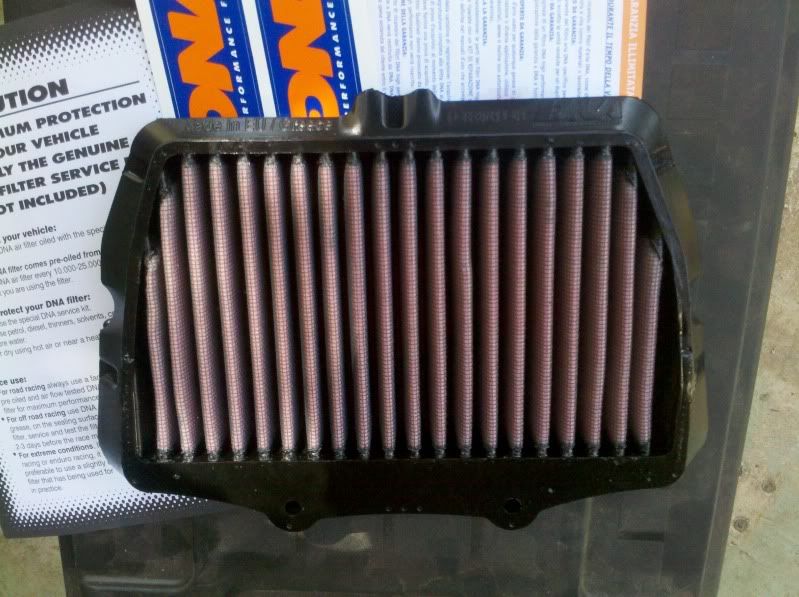
Here is the replacement air filter, DNA brand.
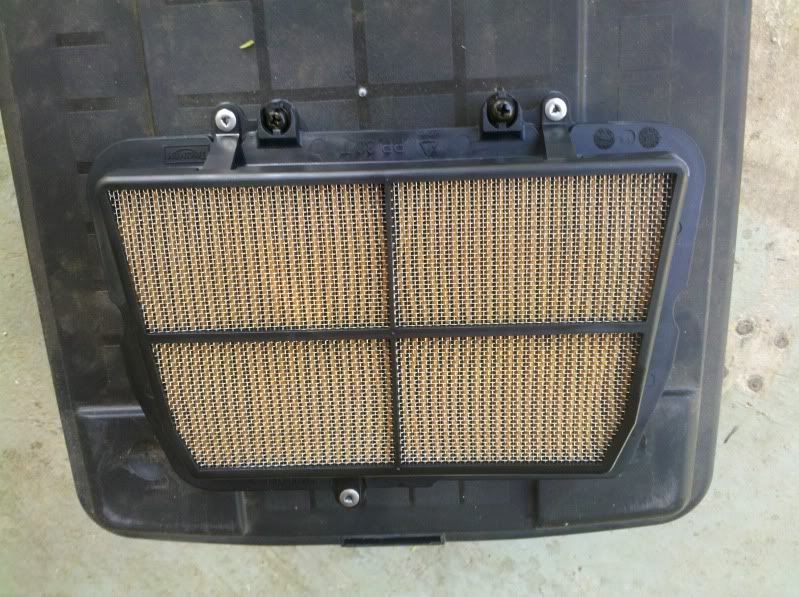
Original Triumph OEM filter and DNA
Continued in next post....
It's a bit more work than other bikes I have. I would reckon an hour to do it, or if you faff like me, add another half hour.
You will need:
5mm allen key
12mm socket
7mm socket (
Triumph??!!)Phillips medium screwdriver.
Take off the seats and side panels...
Next remove the plastics on the tank and radiator. You do not have to remove the plastic on the tank that 'cuddles' the ignition key.
You might be able to get away without removing the lower radiator plastics, but it's only two screws and you won't snap the top plastic.
Once all the plastics are off you can remove the two tank retaining bolts...
Now you can pull the tank backwards and up at the same time, might need a little tug as the tank is sitting on rubber bushings that stick. You cannot remove the tank right now, just get it loose.
At the rear of the tank are two pipes, one is a breather the other is an overflow. They are different sizes, but marking them is never a bad idea....
Lift the tank up a bit so you can get your hands underneath. Pull off the two pipes.
Here I've used a rolled up towel, we need to get at the electrical connectors and the fuel pipe.
Black connector plugs in on the left, brown on the right. They are easy connectors, simply squeeze the tab and pull.
The fuel pipe connector is a little tricky if you've not come across them before. It has a slide locking plate (orange part) : Slide this at 90 degrees to the pipe, from the black side until it clicks. (ie slide left in the pic below)
Now at the top and bottom are two tabs that need to be pressed inwards. Whilst pressing them in, push the connector ON to the pipe, then pull it off.
*If it doesn't come loose do not force it. Press the tabs again, push it on, then pull, you can try a twist to help the release.
Before you take the tank off, get a spot ready to put the tank. DO NOT put the tank down on a flat surface. The plastic fuel connector pipe sits low and will snap!!
The tank is now ready to come off. Continue pulling backwards and upwards.
Here's a pic of the supported tank..
Now you can see the airbox complete. There is one electrical connector, press the tab and pull.
Remove the airbox cover, don't drop any of the screws..
Near the intakes are two phillips head screws, that's all. The cover itself presses the air filter secure.
Now you can faff a little, grab a torch, open the throttle and have a look at your intake valves. Mine look all clean and shiny!!! Pretty!
Cover up the intakes so nothing can drop in them or get dirty.
Here is the replacement air filter, DNA brand.
Original Triumph OEM filter and DNA
Continued in next post....
Last edited: